N.Y. Renovation Services
Most People Are Re-Caulking Their NYC Bathtub Wrong (Here’s The Right Way!)
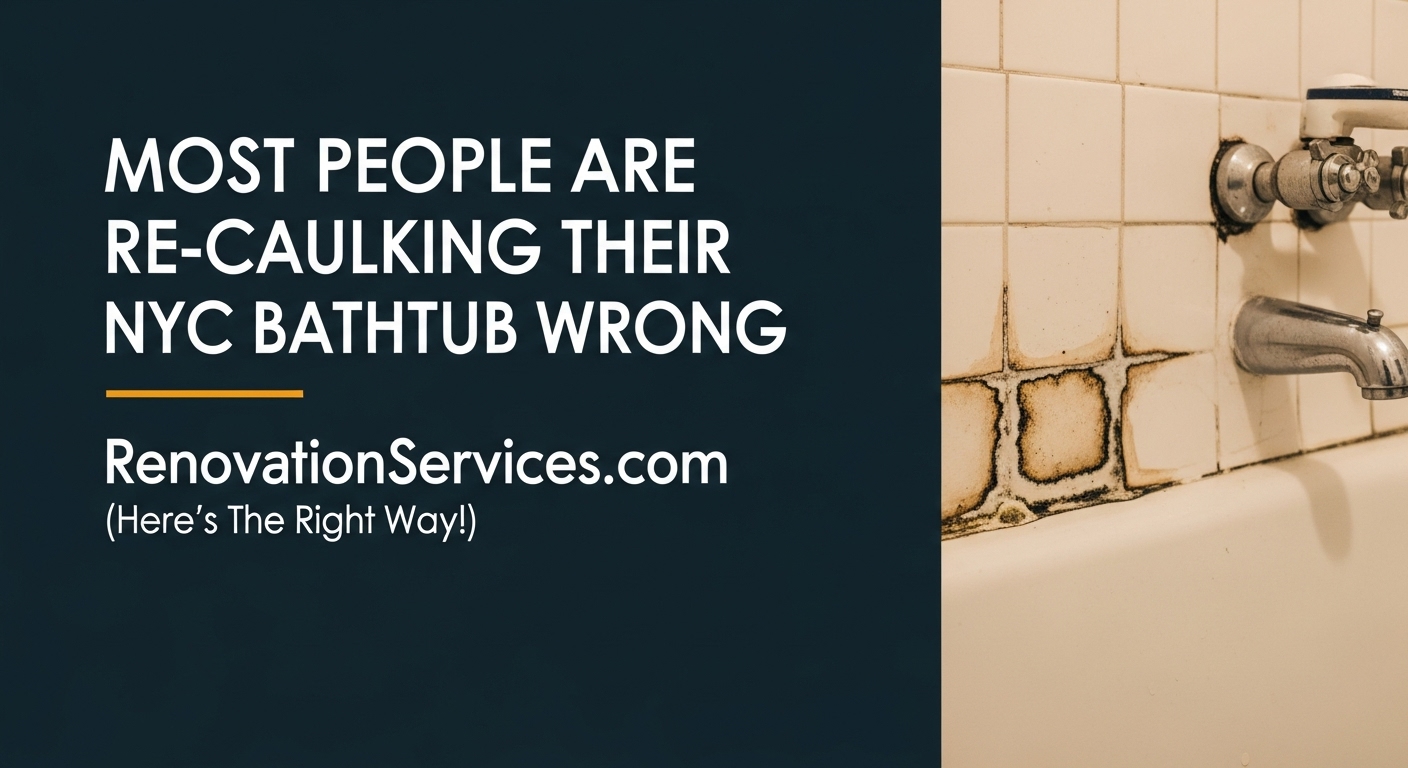
Is the caulk around your bathtub in your Manhattan apartment looking a bit sad, moldy, or peeling away? You’re not alone! This is a super common issue in many NYC bathrooms, from Brooklyn to Queens and beyond. Fresh, clean bathtub caulking NYC not only makes your bathroom look way better but also protects against water damage and mold. Many folks in Staten Island or Long Island try to re-caulk bathtub themselves, but it turns out there are some common mistakes that can make the new caulk fail quickly. This guide will show you the *right* way to do it, step-by-step, so your hard work lasts for years! And if DIY isn’t your cup of tea, RenovationServices.com offers expert bathroom repair and caulking services.
1. Why is Good Bathtub Caulking So Important in NYC Bathrooms?
You might think caulk is just that white line around your tub. However, that simple line does a super important job, especially in busy NYC bathrooms where humidity can be a real challenge! Proper bathtub caulking NYC is your first line of defense against some yucky problems.
What Does Caulk Actually Do?
Imagine the small gap where your bathtub meets the tiled wall. Without caulk, every time you shower or bathe, water can splash and seep into that crack. Where does that water go? Unfortunately, it can go behind your tiles, into your walls, and even down to the floor below. This is a big problem because:
- It Prevents Water Damage: Good, solid caulk creates a waterproof seal. This stops water from sneaking into places it shouldn’t, which can prevent serious damage to your walls, floors, and even the structure of your Manhattan apartment or Brooklyn home. Water damage repairs can be very expensive!
- It Stops Mold and Mildew Growth: Mold loves damp, dark places. If water gets behind your caulk or into unsealed gaps, it creates the perfect home for yucky mold and mildew to grow. This not only looks bad but can also be unhealthy to breathe, especially in smaller NYC bathrooms. The EPA (Environmental Protection Agency) has a lot of information on the health effects of mold.
- It Makes Your Bathroom Look Clean and Finished: Let’s be honest, cracked, discolored, or moldy caulk just looks gross! Fresh, clean bathtub caulking NYC instantly makes your whole bathroom look newer, cleaner, and more inviting. It’s like giving your tub a fresh new frame!
- It Helps Keep Bugs Out: Tiny gaps can also be an invitation for little critters. A good caulk seal helps keep them out.
So, that little line of caulk is doing a lot of heavy lifting to protect your home and keep it looking great! That’s why learning how to re-caulk bathtub correctly is a valuable skill for any NYC homeowner.
Quick Bathroom Check!
Go take a peek at the caulk around your bathtub or shower right now. Is it smooth and clean? Or is it cracked, pulling away, or showing signs of mold? This quick look will tell you if it’s time for a re-caulking project!
2. Oops! What are Common Bathtub Re-Caulking Mistakes People Make?
Trying to re-caulk bathtub seems easy enough, right? Just squeeze some stuff out of a tube! Unfortunately, many DIYers in NYC make a few common mistakes that lead to the new caulk failing quickly, looking messy, or not sealing properly. Consequently, they end up having to do the job all over again sooner than they’d like. Let’s look at these pitfalls so you can avoid them!
Mistake #1: Not Removing ALL the Old Caulk
This is probably the biggest mistake people make. They see some old, yucky caulk and just try to put new caulk right on top of it. Bad idea! Why? Because new silicone caulk (which is the best kind for tubs and showers) doesn’t stick well to old silicone caulk. Furthermore, if the old caulk has mold on it or underneath it, you’re just trapping that mold in. Yuck!
You absolutely MUST remove every last bit of the old caulk. This means scraping, pulling, and sometimes using special caulk remover tools or solutions. It takes time and patience, but it’s essential for a good, long-lasting seal for your bathtub caulking NYC project.
Mistake #2: Not Cleaning and Drying the Surface Thoroughly
Okay, so you got all the old caulk off. Great! But now, the surface where the new caulk will go is probably dirty, with soap scum, bits of old caulk, or even some hidden mildew. New caulk needs a super clean and, most importantly, COMPLETELY DRY surface to stick to properly. If the area is even a little bit damp or dirty, your new caulk will likely fail, peel, or grow mold quickly.
This means scrubbing the area well (rubbing alcohol is great for a final clean after soap and water) and then making sure it’s bone dry. Sometimes, especially in a humid NYC bathroom, you might even need to use a hairdryer on a low setting to get all the moisture out of the gap before you start to re-caulk bathtub.
Mistake #3: Using the Wrong Type of Caulk
Not all caulks are created equal! For a bathtub or shower, you need a caulk that is:
- 100% Silicone: Silicone is waterproof, flexible (so it moves with your tub a bit), and very durable. Look for products specifically labeled “Kitchen & Bath” or “Tub & Tile” silicone sealant.
- Mold and Mildew Resistant: Many good silicone caulks have stuff in them (called mildewcide) that helps stop mold from growing on the caulk itself. This is a lifesaver in steamy NYC bathrooms!
Avoid using acrylic latex caulk (sometimes called “painter’s caulk”) around your tub. It’s great for trim and walls, but it’s not waterproof enough for a wet area and will break down and grow mold very quickly. Using the right product is key for successful bathtub caulking NYC.
Mistake #4: Applying Too Little or Too Much Caulk
Getting the “bead” of caulk (the line of caulk you squeeze out) just right takes a little practice. If you apply too little, it won’t fill the gap properly and won’t create a good seal. If you apply way too much, it looks messy and is hard to smooth out nicely.
The trick is to cut the tip of your caulk tube at a slight angle and make the opening just a bit smaller than the gap you want to fill. Then, apply steady pressure as you move the caulk gun along the seam.
Mistake #5: Using Soapy Water to Smooth the Caulk
This is an old trick some people use, dipping their finger in soapy water to smooth the caulk bead. While it might make the caulk *look* smooth at first, the soap can actually interfere with how well the silicone sticks (bonds) to the tub and tile. This can lead to the caulk peeling away much sooner. Professionals often recommend using a dry finger (or a specialized silicone tooling tool) for the best, longest-lasting finish when you re-caulk bathtub.
Mistake #6: Not Filling the Tub with Water Before Caulking (Sometimes!)
This one is a bit debated, but for some types of tubs (especially acrylic or fiberglass ones that might flex a little when full of water and a person), it’s a good idea to fill the tub about halfway with water *before* you apply the caulk. Why? Because this mimics the weight and slight flex the tub experiences when in use. If you caulk an empty, lightweight tub, the caulk line might stretch and break the first time someone takes a heavy bath. By caulking it when it’s partially full, the caulk cures in a slightly “flexed” position, making it more durable. For heavy cast iron tubs in older Manhattan buildings, this step is usually less critical.
Avoiding these common mistakes will set you up for a bathtub caulking NYC job that not only looks great but also protects your bathroom for years to come! If this sounds like too much detail, remember RenovationServices.com can handle this for you.
Confession Time!
Have you ever tried to re-caulk your bathtub before? Did you make any of these common mistakes? What was the trickiest part for you? Sharing experiences helps everyone learn!
9. DIY Too Tricky? When to Call RenovationServices.com for Your Bathtub
Learning how to re-caulk bathtub correctly is a great skill for any NYC homeowner. It can save you some money and give you a sense of accomplishment. However, let’s be honest – it can also be a bit fiddly, time-consuming, and if not done right, it might not last or could even lead to bigger problems like hidden mold or water damage. There are definitely times when calling in the professionals from RenovationServices.com for bathroom repairs is the best choice for your bathtub caulking NYC needs.
Consider Calling the Pros If:
- You’ve Found Serious Mold Behind the Old Caulk: If you remove the old caulk and discover a lot of black, fuzzy mold on the wallboard or behind the tiles, this might be more than a simple re-caulking job. You could have a bigger moisture problem or need professional mold remediation to ensure it’s all safely removed before new caulk goes on. Simply caulking over it won’t solve the underlying issue.
- The Gaps Are Very Large or Uneven: If the space between your tub and tile is unusually wide, deep, or very uneven, it can be very tricky for a DIYer to get a good, lasting seal. Professionals have techniques and sometimes use backer rod to fill large gaps properly before caulking.
- You’re Not Confident in Your Skills or Don’t Have the Time: Removing old caulk thoroughly and applying new caulk neatly takes patience and a steady hand. If you’re short on time, not very handy, or just don’t enjoy this kind of detailed work, hiring a pro will save you frustration and ensure a better result.
- You Have Physical Limitations: Bending over a tub for a long time, scraping, and applying steady pressure with a caulk gun can be tough on your back, hands, or knees.
- You Want a Guaranteed Professional Look and Long-Lasting Seal: Professionals do this all the time. They know how to get those perfectly smooth, even beads of caulk that look great and provide maximum protection against water. They also use high-quality, professional-grade materials.
- You Have an Expensive or Unique Tub/Tile Setup: If you have a high-end bathtub, delicate custom tiles, or a complex shower enclosure in your Manhattan luxury apartment, you might not want to risk damaging anything with DIY attempts.
At RenovationServices.com, our skilled technicians can handle your bathtub caulking NYC project quickly and professionally. We ensure all old caulk and any hidden mold are properly removed, the area is thoroughly cleaned and prepped, and we use top-quality, mold-resistant silicone for a perfect, long-lasting seal. We serve all NYC boroughs, including Brooklyn, Queens, Staten Island, and also Long Island.
Pro Tip from RenovationServices.com:
While re-caulking, it’s also a good time to inspect your grout. If the grout between your tiles is cracked, missing, or moldy, it should also be repaired or replaced to ensure your entire tub surround is watertight. We can help with grout repair too!
10. Your NYC Bathtub Caulking Questions Answered!
Even with a step-by-step guide, you might have a few more questions about how to re-caulk bathtub in your NYC home. Here are some common ones:
Q1: How often should I re-caulk my bathtub or shower in an NYC apartment?
A: There’s no exact rule, but generally, you should inspect your caulk at least once a year. If you see any signs of cracking, peeling, shrinking, or mold growth, it’s time to re-caulk. In a humid NYC bathroom environment, even good quality silicone caulk might need replacing every 3-5 years to keep it looking fresh and sealing effectively. Preventative re-caulking is much better than waiting for water damage!
Q2: What’s the difference between silicone and latex caulk for a bathtub?
A: For bathtubs and showers, you should ALWAYS use 100% silicone caulk. Silicone is waterproof, flexible (so it can handle small movements between the tub and wall), and very resistant to mold and mildew. Latex caulk (often called “painter’s caulk” or “acrylic latex caulk”) is water-based and is great for filling gaps around trim or on drywall before painting, but it is NOT waterproof enough for wet areas like a tub surround. It will break down, crack, and grow mold quickly if used around a tub.
Q3: Can I just put new caulk over the old, moldy caulk?
A: No, please don’t do this! It’s a very common mistake. New silicone caulk will not stick properly to old, dirty, or moldy silicone. You’ll just be trapping the mold underneath, and the new caulk will likely peel off very soon. You MUST completely remove all the old caulk and clean the surface thoroughly before applying new bathtub caulking NYC.
Q4: My new caulk bead looks a bit messy. How can I get it smoother?
A: For the smoothest finish after applying the caulk bead, many professionals recommend lightly running a dry finger (or a specialized silicone tooling tool) along the bead with consistent pressure. Do this *before* the caulk starts to skin over (usually within 5-10 minutes). Have paper towels ready to wipe the excess off your finger or tool frequently. Avoid using soapy water, as this can interfere with the silicone’s adhesion to the tub and tile surfaces.
Q5: How long do I have to wait before using my shower or tub after re-caulking?
A: This is important! You need to let the new silicone caulk cure completely. Most silicone caulks are water-ready (meaning they can get wet) in about 3 to 12 hours, but they usually take a full 24 hours (or sometimes longer for certain types) to cure completely and reach their full strength and adhesion. Always check the instructions on your specific caulk tube. It’s best to avoid using the shower or tub for at least 24 hours to ensure a long-lasting, waterproof seal for your bathtub caulking NYC job.
Ready for a Fresh, Sealed Bathtub in Your NYC Home?
A properly caulked bathtub not only looks fantastic but also protects your NYC bathroom from water damage and mold. Whether you decide to tackle this as a DIY project or prefer professional help, ensuring a good seal is key!
If you’re in Manhattan, Brooklyn, Queens, Staten Island, or Long Island and want a perfect, long-lasting bathtub caulking NYC job without the hassle, the experts at RenovationServices.com are ready to assist. We handle all types of bathroom repairs and caulking with precision.
Get your bathroom looking its best and protected from water:


