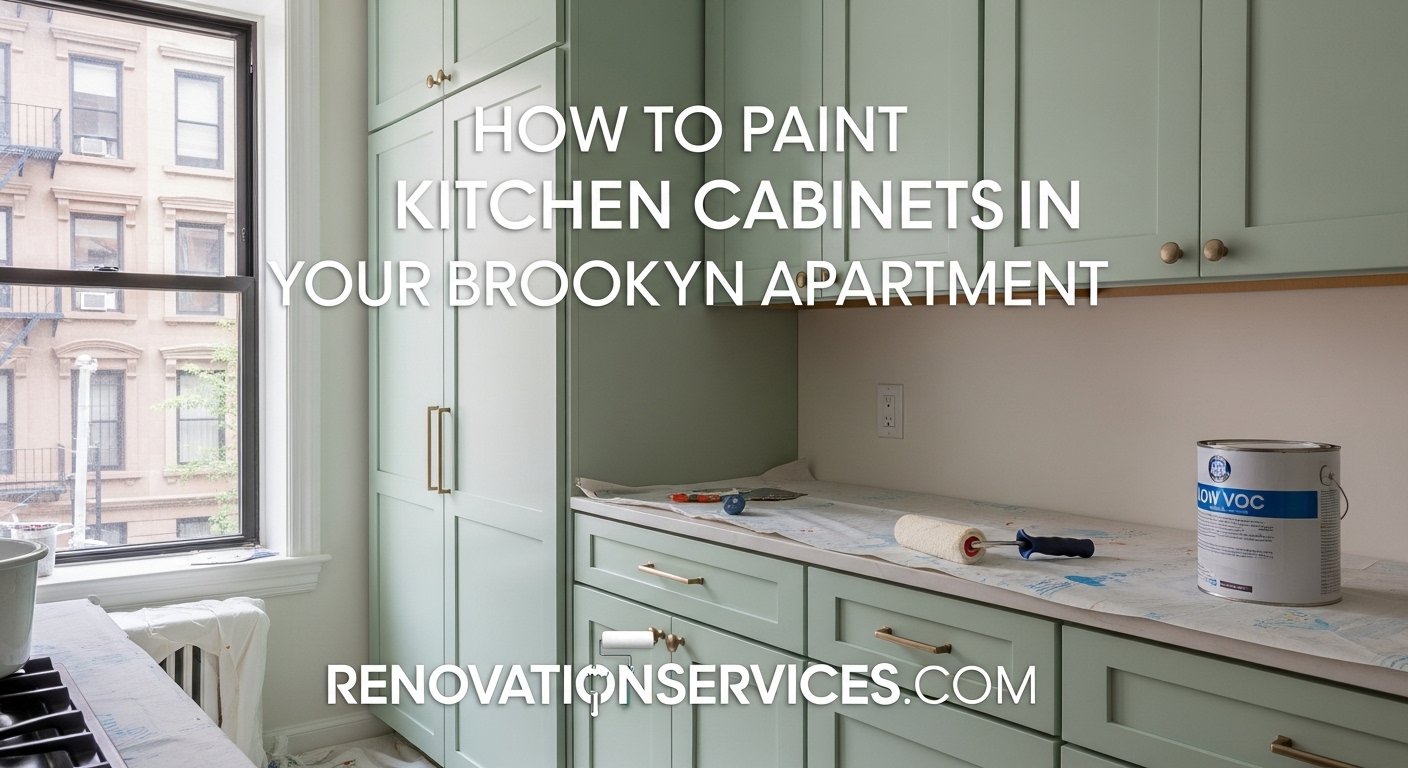
How to Paint Kitchen Cabinets in Your Brooklyn Apartment
Transform your kitchen without a full remodel. Our guide details the professional 12-step process for a durable, factory-like finish on your cabinets.
Get a Pro Cabinet Painting QuoteThe kitchen is the heart of any Brooklyn home, but a full kitchen remodel is a massive undertaking in terms of both time and cost. If your cabinets are structurally sound but look dated, there’s a more affordable solution: professional painting. A high-quality paint job can completely transform your kitchen’s aesthetic for a fraction of the cost of new cabinets, giving you a modern, updated space that looks brand new.
However, painting kitchen cabinets is one of the most challenging DIY projects. It requires immense patience and a meticulous, multi-step process to achieve a smooth, durable finish that won’t chip or peel. This guide will walk you through the exact process professionals use, from the critical prep work to the final coat, helping you decide if this is a project you can tackle or if it’s best left to the experts.
Section 1: The Great Debate: DIY vs. Hiring a Pro in Brooklyn
Before you buy a single can of paint, it’s essential to understand what you’re getting into. While painting cabinets yourself can save money on labor, it’s a labor-intensive project with a high margin for error. Hiring a professional service like our Brooklyn painting team guarantees a factory-like finish, but comes at a higher price point.
Interactive Tool: DIY vs. Pro Cost Calculator
Enter the number of cabinet doors and drawer fronts in your kitchen to estimate the cost difference.
Section 2: The Pro’s 12-Step Process for a Flawless Finish
A professional cabinet finish is 90% preparation. Skipping or rushing any of these steps is the number one reason DIY projects fail. This is the exact process we follow to ensure a durable, beautiful result every time.
Interactive Tool: Project Timeline Estimator
Select the size of your kitchen to see a realistic project timeline.
- Step 1: Document & Label. We take photos of the kitchen and label every single door, drawer, and hinge to ensure everything goes back in its original place perfectly.
- Step 2: Set Up a Controlled Environment. The doors and drawers are taken off-site to our spray shop. In your home, we create a sealed “plastic room” around the cabinet boxes with zip doors and use HEPA air scrubbers to control dust.
- Step 3: Degrease and Clean. Years of cooking grease and oils must be removed. We use a powerful degreasing agent to thoroughly clean every surface.
- Step 4: Scuff Sand. The goal isn’t to remove the old finish, but to “scuff” it to create a microscopic texture that the primer can grip onto. We use 180-grit sandpaper for this.
- Step 5: Fill Grain (for Oak/Grained Wood). For woods with heavy grain like oak, we apply a grain filler and sand it smooth to create a glass-like surface.
- Step 6: Prime with a Bonding Primer. This is the most critical step. We spray a high-adhesion bonding primer that is specifically designed to stick to glossy surfaces.
- Step 7: Sand the Primer. Once dry, we sand the primer with 320-grit sandpaper to remove any imperfections, creating a perfectly smooth base.
- Step 8: Caulk Seams. All seams and joints on the cabinet boxes and door panels are caulked to create a seamless, monolithic look.
- Step 9: Apply First Finish Coat. We spray the first coat of high-quality cabinet paint. Spraying is essential for a professional, brush-mark-free finish.
- Step 10: Sand the First Coat. After the first coat cures, we lightly sand it with 400-grit paper to remove any minor imperfections.
- Step 11: Apply Second Finish Coat. The final top coat is sprayed for full coverage and a beautiful sheen.
- Step 12: Reassemble and Install. After allowing the paint to cure (typically 3-5 days), we carefully re-wrap all items, transport them back to your home, re-install the hardware, and hang the doors and drawers.
Section 3: Choosing the Right Paint & Primer
Standard wall paint will not work on cabinets. You need a specialized product designed to withstand the high-touch, high-grease environment of a kitchen. The same goes for primer—without the right foundation, your paint will fail.
Interactive Tool: Can My Cabinets Be Painted?
Select your cabinet material to see if it’s a good candidate for painting.
Interactive Tool: Which Primer Do I Need?
My cabinets are…
Section 4: The Bottom Line: Costs & Timeline in Brooklyn
Understanding the costs and time commitment is crucial for planning your project. In Brooklyn, where labor costs are high, professional cabinet painting is an investment, but one that significantly enhances your home’s value.
Interactive Tool: Sheen Selector
Click to learn about the most common cabinet paint sheens.
Section 5: Your Cabinet Painting Questions Answered
More Interactive Tools & FAQ
What if my cabinets have lead paint?
Can you paint thermofoil or laminate cabinets?
Ready for a Kitchen Transformation?
Let our professional painters give your Brooklyn kitchen cabinets a flawless, factory-like finish that will last for years. Contact us today for a free, no-obligation estimate.


