How to Paint a Ceiling Like a Pro (Without the Mess)
Painting a ceiling, the often-neglected “fifth wall,” is one of the most impactful ways to brighten a room and give it a truly finished look. But it’s also a task many NYC homeowners dread, imagining drips, splatters, and a sore neck. The good news is that with the right tools and professional techniques, you can achieve a flawless, streak-free ceiling. This guide breaks down the pro-level process for a perfect result every time.
The “Fifth Wall”: Why a Perfect Ceiling Matters
In the world of professional painting and design, the ceiling is often called the “fifth wall.” It’s a vast, uninterrupted plane that has a huge impact on how a room feels. A ceiling that is stained, cracked, or dingy can make an entire room feel dark, small, and poorly maintained. Conversely, a freshly painted, flawless ceiling brightens the whole space, makes it feel larger and cleaner, and reflects light more effectively throughout your home.
In NYC, where natural light can be a precious commodity, the reflective quality of a clean, white ceiling is invaluable. It can transform a dimly lit apartment in a dense Manhattan neighborhood like the Lower East Side or a garden-level unit in a leafy part of Brooklyn like Carroll Gardens into a brighter, more welcoming space. That’s why professional painters always follow a specific order of operations: always paint the ceiling first, before moving on to the walls. This simple rule prevents any drips or splatters from ruining a freshly painted wall, saving time and frustration.
Pro Tip: The Impact on Home Value
When preparing a property for sale in a competitive market like Long Island or Queens, never underestimate the power of a pristine ceiling. Potential buyers notice water stains and cracks immediately, often assuming the worst about leaks or structural issues. A clean ceiling signals a well-maintained home, a key factor in our guide to renovations that maximize value.
1. Meticulous Preparation: The Foundation for Success
As with any painting project, success is determined by the quality of the preparation. When painting a ceiling, this is even more critical due to gravity—drips and dust will fall on everything below. This is the most time-consuming part, but it’s what separates an amateur mess from a professional result. A single drop of paint on a new sofa in a Tribeca loft can ruin a project.
Your Pro Prep Checklist:
- Clear the Room: Remove as much furniture as possible. What can’t be removed should be grouped in the center of the room and covered completely with new plastic sheeting. This is a crucial step to protect your belongings.
- Protect the Floors: Cover the entire floor with canvas drop cloths. Canvas is better than plastic for floors as it’s less slippery and absorbs drips, preventing paint from being tracked through your home.
- Mask the Walls: Use painter’s tape and plastic sheeting or masking paper to create a “skirt” around the top of the walls, about 12 inches down from the ceiling. This protects your walls from roller splatter.
- Handle Fixtures: Turn off the power to the room at the circuit breaker. This is a critical safety step. Remove the canopy of any ceiling light fixtures or fans. You don’t need to take the whole fixture down; just lower the cover so you can paint underneath it. Bag the fixture in plastic to protect it from paint and dust.
- Clean the Ceiling: Ceilings collect dust, grease, and cobwebs. Wash the entire surface with a TSP substitute or a simple soap and water solution using a sponge mop. This is especially important in kitchens in neighborhoods like Astoria or Flushing where cooking grease can accumulate. Let it dry completely.
- Repair Imperfections: Scrape any loose or peeling paint. Patch any cracks or holes with spackle, and sand the repairs smooth once dry. A flawless surface is essential, as detailed in our guide to fixing drywall.
Pro Tip: Ladder Safety is Paramount
When working on a ladder, always maintain three points of contact (two feet and one hand, or one foot and two hands). Never overreach; it’s better to get down and move the ladder. The Occupational Safety and Health Administration (OSHA) provides critical guidelines for portable ladder safety.
2. Choosing Your Tools: The Right Gear for the Job
Using the right tools will make painting a ceiling faster, easier, and safer, and will produce a much better result. Our guide to painting tools covers this in depth, but here are the essentials for ceilings.
The Ceiling Painter’s Kit:
- Roller & Extension Pole: A sturdy 9-inch roller frame and an extension pole are non-negotiable. The extension pole allows you to paint from the floor, which is faster, safer, and gives you better leverage for even pressure. It’s a must-have for any ceiling, especially those in a SoHo loft with high ceilings.
- Roller Cover: For most ceilings, a 1/2-inch nap roller cover is ideal. It holds plenty of paint to minimize trips to the tray and is great for the slightly textured surfaces of most ceilings. For perfectly smooth, new drywall (common in a gut-renovated Manhattan apartment), you can use a 3/8-inch nap.
- Paint: Always use a high-quality, dedicated flat white ceiling paint. These are formulated to be extra spatter-resistant and have a very flat finish to hide imperfections and prevent glare.
- Brush: A 2.5-inch angled brush for cutting in the edges. A quality brush will hold more paint and give you a cleaner line.
- Tray & Liners: A sturdy metal roller tray and disposable plastic liners for easy cleanup. Metal trays are more stable than plastic ones.
Pro Tip: Use Color-Changing Ceiling Paint
Many modern ceiling paints go on pink or purple and dry to a bright white. This is incredibly helpful for seeing where you have already painted, ensuring you don’t miss any spots on a large white surface. The color change makes it easy to maintain a wet edge and achieve full coverage.
3. Cutting In: Creating a Crisp Perimeter
Just like with walls, you must “cut in” the ceiling before you begin rolling. This involves using your angled brush to paint a 2-3 inch wide band around the entire perimeter of the ceiling where it meets the walls.
The Professional Technique
Dip your brush about an inch into the paint and tap off the excess; don’t wipe it on the side of the can. Use long, smooth strokes to apply the paint. The goal is to create a clean line against your tape or the corner itself. Don’t worry about the edge closer to the center of the ceiling being perfect; the roller will cover that. It’s the edge against the wall that needs to be sharp. For a large room, like a living room in a Staten Island home or a loft on the Bowery, you may want to cut in one or two walls at a time, then roll them, to keep the edge wet.
Pro Tip: Prime First!
Don’t forget to prime any patches before you start cutting in with your finish paint. New spackle is very porous and will “flash” (look dull) through the topcoat if it’s not sealed with a quality primer. Our guide to primers can help you choose the right one.
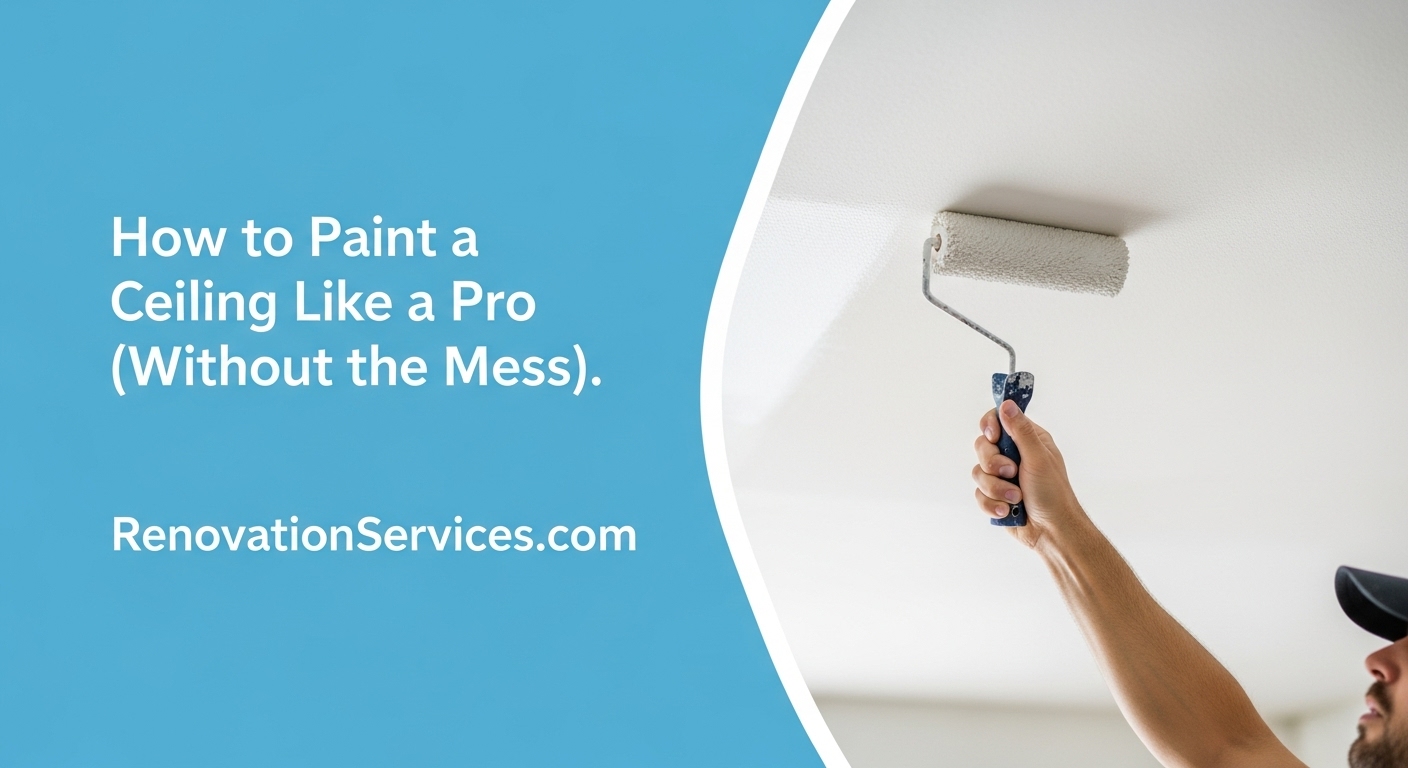
4. The Rolling Technique: Achieving a Uniform Finish
With the edges cut in, it’s time to roll the main field of the ceiling. The goal is to apply an even coat of paint without leaving roller marks or “holidays” (missed spots).
The Professional Method
Start in a corner and work in small sections, about 3×3 feet at a time. Roll in one direction for the first coat. On your second coat, you will roll in the perpendicular direction. This cross-hatching technique ensures complete, even coverage. Always work from your wet edge back into the previously painted section to avoid lap marks. Use light, even pressure on your extension pole—let the roller do the work. Reload your roller frequently to ensure it stays saturated with paint.
Pro Tip: Paint Disposal and Safety
Properly dispose of all materials after your project. For information on handling leftover paint and other household chemicals, you can consult the NYC Department of Sanitation’s SAFE Disposal guide. This ensures environmental safety and compliance with local regulations.
When to Call the Pros for Your Ceiling Project
While painting a standard 8-foot ceiling is manageable, some situations are best left to professionals. The risk of injury and the difficulty of achieving a good finish increase dramatically with certain challenges common in NYC homes.
Call Renovationservices.com if you have:
- High Ceilings: Ceilings in a SoHo loft, a pre-war building on the Upper West Side, or a new construction in Downtown Brooklyn can be 10, 12, or even 15 feet high. This requires extensive scaffolding and specialized equipment to be painted safely and effectively.
- Major Repairs Needed: If your ceiling has significant water damage, large cracks, or sagging drywall, these structural issues must be repaired by a professional before any painting can occur.
- Textured or “Popcorn” Ceilings: Painting over textured ceilings is incredibly difficult. Scraping them off is a messy, labor-intensive job that, in older buildings, carries a risk of asbestos exposure. This work should always be handled by a licensed and insured professional.
Pro Tip: Verify Your Contractor’s License
Before hiring any contractor for work in your home, especially for jobs involving ladders or potential hazards, verify their license and insurance status. You can use the NYC Department of Buildings’ online portal to ensure they are legitimate and that you are protected.
Get a Perfect Ceiling Without the Hassle
A beautifully painted ceiling can completely change the feel of a room. If you want a flawless, professional result without the drips, mess, and sore neck, let our expert crews handle it for you.
Contact RenovationServices.com today for a free estimate on your ceiling painting project. We serve all five boroughs of NYC and Long Island.


