How to Install Vinyl Plank Flooring in a Small NYC Apartment
Luxury Vinyl Plank (LVP) is the perfect flooring for city living. This guide provides a step-by-step tutorial on how to install it yourself for a professional, long-lasting result.
Get a Free Flooring EstimateFinding the perfect flooring for an NYC apartment is a challenge. You need something that can handle heavy foot traffic, is resistant to the occasional spill, looks stylish, and—most importantly—won’t get you in trouble with your co-op board. For years, Luxury Vinyl Plank (LVP) has been the go-to choice for designers and contractors across the five boroughs, from modern condos in Long Island City to classic apartments in Manhattan.
LVP offers the beautiful look of hardwood without the high cost or maintenance. It’s durable, waterproof, and relatively easy to install, making it a tempting DIY project. This guide will provide you with a comprehensive, step-by-step process to install LVP flooring like a professional. We’ll cover everything from subfloor preparation to cutting your final plank, and also dive into the critical rules and regulations you’ll face in a typical NYC co-op or condo building.
Section 1: Why LVP is the Perfect Flooring for NYC Apartments
LVP flooring has exploded in popularity for several key reasons that make it uniquely suited for the demands of city living.
Interactive Tool: Explore the Benefits of LVP
Click on a benefit to see why it matters in an NYC apartment.
Section 2: Tools, Materials, and Critical Preparation
A professional result starts with the right tools and meticulous preparation. The most important step, which cannot be skipped, is **acclimating the flooring**. You must bring the unopened boxes of LVP into your apartment and let them sit flat for at least 48 hours. This allows the planks to adjust to your home’s temperature and humidity, preventing buckling or gapping after installation.
Interactive Tool: Your LVP Installation Toolkit
Check off the essential tools for this project.
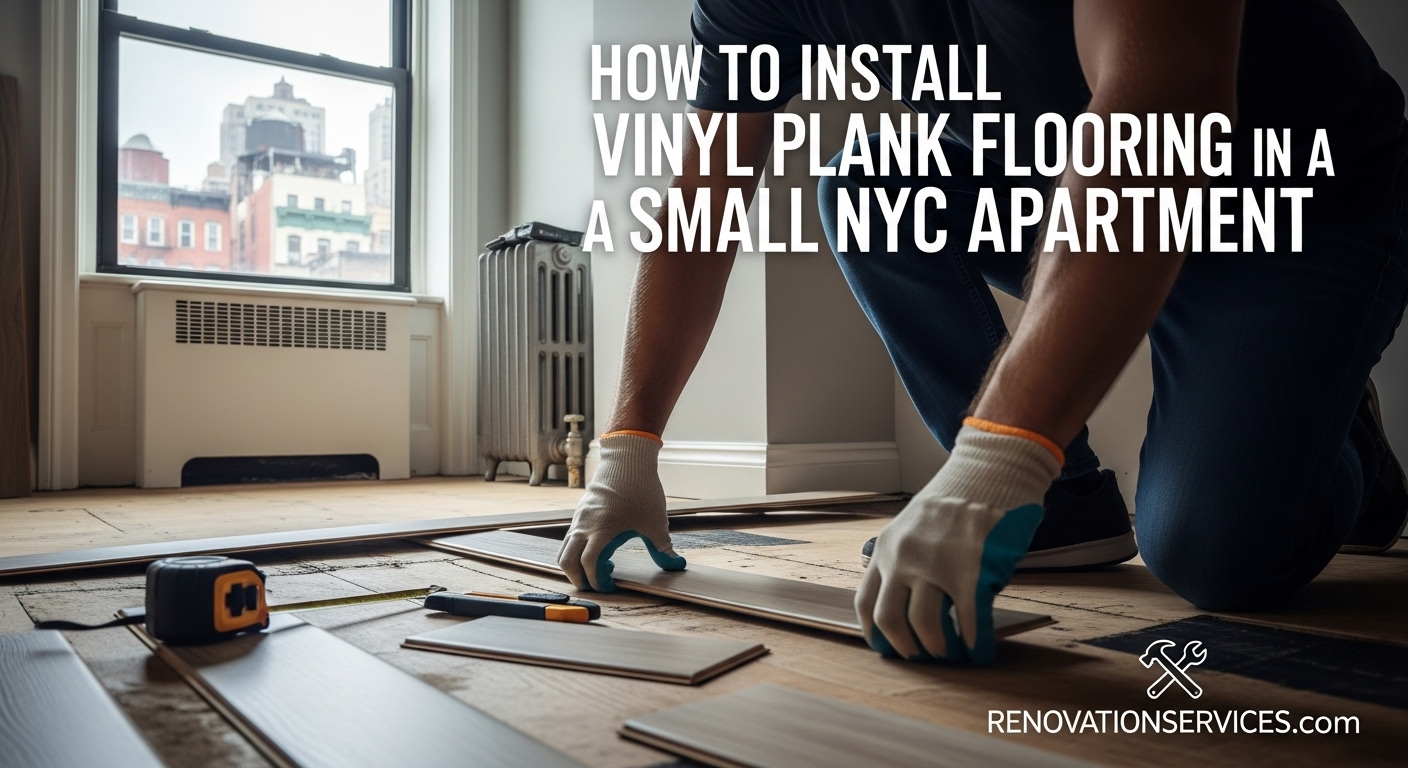
Section 3: The 10-Step Installation Process
With your subfloor clean and your planks acclimated, you’re ready to begin. The key is to be patient and precise. Work from left to right, ensuring your first row is perfectly straight, as it will guide the rest of the installation.
Interactive Tool: The 10 Steps of LVP Installation
Slide to see each step of the process.
Section 4: Navigating NYC Co-op & Condo Rules
In NYC, you can’t just start a flooring project. If you live in a co-op or condo, you must get approval from your building’s board first. This involves submitting an alteration agreement, providing proof of insurance, and, most importantly, meeting the building’s soundproofing requirements.
Interactive Tool: What’s an IIC Rating?
Buildings require flooring assemblies to have a minimum Impact Insulation Class (IIC) rating to reduce noise for your neighbors below. What is a common minimum IIC rating for a NYC co-op?
Section 5: Cost Breakdown: DIY vs. Professional Installation
The cost of an LVP project is broken down into materials and labor. While a DIY approach saves on labor, hiring a professional ensures the job is done right, especially when dealing with uneven subfloors or complex layouts in a Staten Island home.
Interactive Tool: LVP Project Cost Calculator
Estimate the cost for a 400 sq ft living room.
More Pro Tips & Tools
Interactive Tool: Is My Subfloor Ready?
A perfect LVP installation requires a perfect subfloor. Is yours ready?
Interactive Tool: Why Do I Need an Expansion Gap?
You must leave a 1/4-inch gap between the flooring and all walls. Why is this so important?
Interactive Tool: Case Study – Brooklyn Co-op
A client in a Brooklyn Heights co-op needed to replace old carpet. The subfloor was uneven concrete. Click to reveal our solution.
Get a Perfect Floor, Guaranteed.
Installing a new floor is a big job. If you want a flawless, professional result without the stress, our expert flooring installers are here to help. We handle everything from subfloor prep to the final piece of trim.


