N.Y. Renovation Services
Why Is My Bathroom Ceiling Paint Peeling? A Pro’s Guide to Fixing It for Good
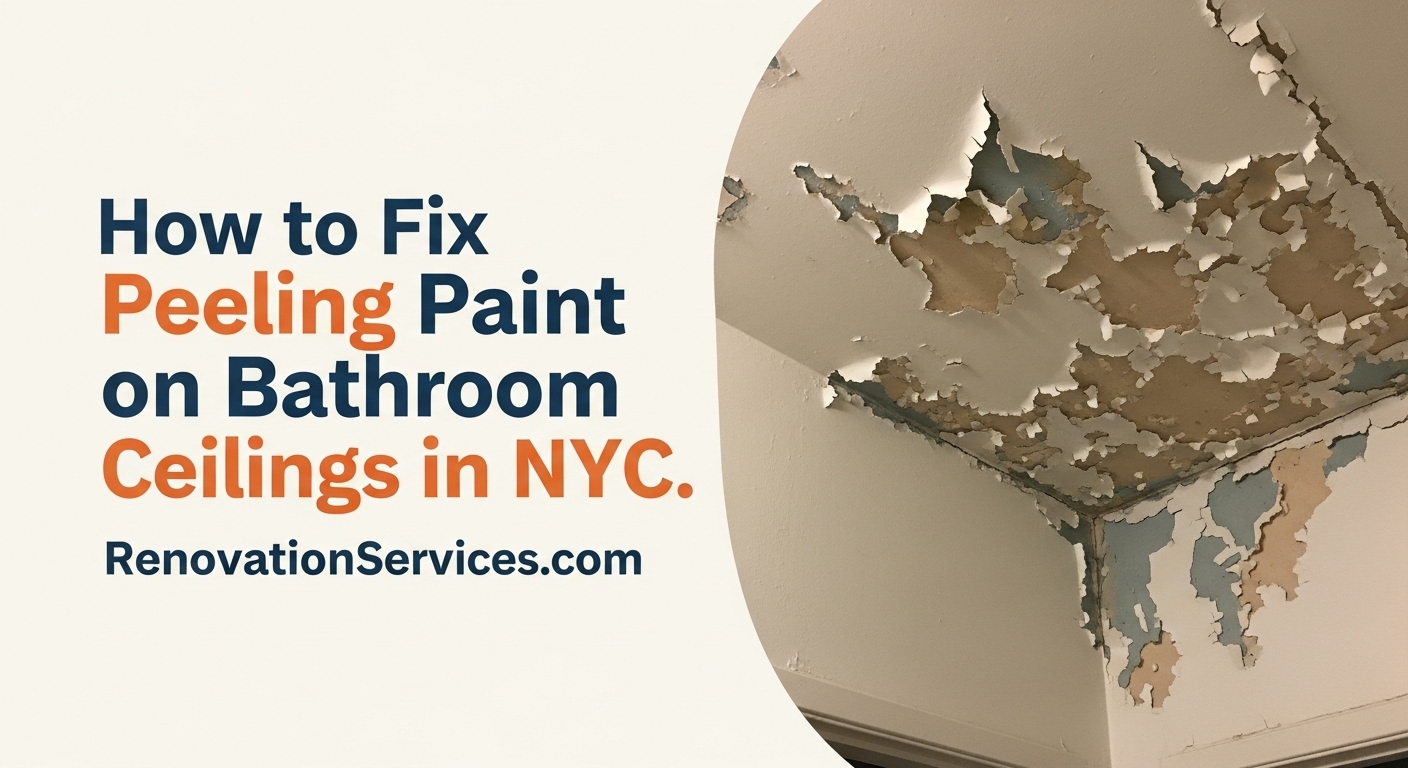
It’s a frustratingly common sight in NYC apartments: peeling paint on the bathroom ceiling. Whether you’re in a pre-war building in Manhattan or a modern condo in Brooklyn, this persistent problem can make your whole bathroom look shabby. This comprehensive guide will explain exactly why your bathroom ceiling paint is peeling and provide a step-by-step professional process to fix it permanently.
1. The Root Cause: Why Bathroom Paint Peels in NYC
Before you can fix the problem, you need to understand why it’s happening. Peeling paint is almost always a symptom of a deeper issue, and in a bathroom, the culprit is consistently moisture. In the high-humidity environment of a typical NYC apartment bathroom—from a small powder room on the Upper East Side to a family bathroom in a Queens townhouse—moisture is relentless.
The Moisture Menace
Every hot shower releases a massive amount of steam (water vapor) into the air. This warm, moist air rises and condenses on the coolest surface it can find: your ceiling. This constant cycle of condensation creates several problems:
- Adhesion Failure: Water seeps into microscopic pores in the paint, getting between the paint layer and the surface underneath (the primer or the drywall itself). This breaks the bond, causing the paint to bubble, blister, and eventually peel away in sheets. This is especially true if the wrong type of paint (like a standard flat latex) was used initially.
- Poor Ventilation: Many NYC apartments, particularly older ones in neighborhoods like the West Village or Park Slope, have inadequate ventilation. A tiny, underpowered, or non-existent exhaust fan simply can’t remove the humid air fast enough. Even running a fan might not be enough if it’s not properly sized or vented. We explore this in our guide to bathroom fans.
- Surface Contamination: If the ceiling wasn’t properly cleaned before the last paint job, residues from soap scum, hairspray, or even just dust can create a weak point where paint won’t stick properly.
- Underlying Leaks: While less common for ceiling peeling (more common for stains), a slow leak from the apartment above in a building on, say, Flatbush Avenue in Brooklyn, can saturate the drywall and cause catastrophic paint failure. If you see discoloration along with the peeling, a leak is a likely suspect.
Simply painting over the peeling sections is a temporary fix at best. The moisture will quickly get behind the new layer of paint, and you’ll be back to a flaking bathroom ceiling within months. The key to a permanent bathroom ceiling repair is to address the moisture issue and follow a meticulous preparation and painting process.
2. Your Pro Toolkit: Essential Materials for a Lasting Repair
To fix peeling ceiling paint in the bathroom correctly, you need the right supplies. Using professional-grade materials is non-negotiable for a repair that will stand up to the harsh bathroom environment. Here’s what our experts at RenovationServices.com recommend:
Essential Tools:
- Safety Gear: N95 dust mask, safety glasses or goggles. Drywall dust and paint chips can be hazardous.
- Scrapers: A 3-inch flexible putty knife and a 6-inch taping knife are essential for removing loose paint and applying joint compound.
- Sanding Tools: A sanding pole for large areas and a medium-grit sanding sponge for detail work.
- Shop Vacuum: A wet/dry vac with a fine dust filter is invaluable for cleanup.
- Paint Brushes & Rollers: A high-quality 2.5-inch angled brush for cutting in and a 3/8-inch nap roller for smooth surfaces.
Crucial Materials:
- Cleaner: A solution of TSP (Trisodium Phosphate) substitute or a simple 1:3 vinegar-water solution to clean and kill any surface mildew.
- Joint Compound: A small tub of all-purpose joint compound for patching minor imperfections. For deeper gouges, a fast-setting compound (hot mud) might be necessary.
- Stain-Blocking Primer: This is the secret weapon. Use a high-quality, shellac-based or oil-based primer like Zinsser B-I-N or Kilz Original. These primers create an impermeable barrier that blocks moisture and any lingering stains from bleeding through.
- Top-Tier Bathroom Paint: Do not compromise here. You need a paint specifically designed for high-humidity environments. Look for products labeled “kitchen & bath” or that have mildewcide additives. Benjamin Moore’s Aura Bath & Spa or Sherwin-Williams’ Emerald are excellent choices. A satin or semi-gloss finish is highly recommended for its moisture resistance and washability.
3. Step 1: Safety and Room Preparation
Before you even touch the ceiling, proper preparation of the room is essential to contain the mess and ensure safety. This is a step that professionals never skip, whether working in a spacious Staten Island home or a compact Manhattan studio.
- Clear the Room: Remove all toiletries, towels, shower curtains, and decorative items from the bathroom. Take down any pictures from the walls.
- Protect Surfaces: Cover the entire floor with heavy-duty drop cloths. Use painter’s tape to secure the edges to the baseboards. Cover the vanity, toilet, and bathtub/shower with plastic sheeting, taping it securely in place.
- Turn Off Power: If you have a light fixture or exhaust fan in the ceiling, turn off the power to the bathroom at the circuit breaker. This is a critical safety step before removing any fixtures.
- Ventilate: Open a window if you have one. If not, set up a small fan pointing out the door to help circulate air.
4. Step 2: The Critical Removal Process
This is the most labor-intensive part of the job, but it’s the foundation for a lasting repair. Your goal is to remove every single piece of loose or compromised paint.
Using your 3-inch and 6-inch putty knives, begin scraping away all the peeling and bubbling paint. The key is to be thorough. Don’t just scrape the obviously loose flakes; test the edges of the remaining paint. If you can get your scraper under the edge and it continues to lift, that paint must also be removed. Scrape until you reach a point where the paint is firmly adhered to the surface. You want to create a “hard edge” of well-bonded paint.
You may end up removing a much larger area of paint than you initially expected. This is normal and necessary. Feather the edges of the remaining paint by lightly sanding them with your sanding sponge. This will create a smoother transition between the old paint and the new patch, preventing a visible ridge in the final finish.
5. Step 3: Cleaning and Mildew Treatment
With the loose paint removed, the entire ceiling—both the scraped areas and the remaining painted sections—must be thoroughly cleaned. This removes dust, grime, and, most importantly, any invisible mildew spores that could compromise the new paint job.
Mix your cleaning solution (TSP substitute or vinegar/water). Wearing gloves, use a sponge to wash the entire ceiling. Pay special attention to the areas around the shower. After washing, rinse the ceiling with a clean sponge and plain water to remove any cleaning residue. Allow the ceiling to dry completely. This can take several hours; using a fan can speed up the process.
Warning: Do Not Use Bleach!
While many people reach for bleach to kill mold, the EPA does not recommend it for routine use on porous surfaces like drywall. Bleach can damage the drywall paper, and its effectiveness is often superficial. A dedicated fungicide or a simple vinegar solution is more effective for surface mildew.
6. Step 4: Patching and Skim Coating for a Smooth Surface
Now it’s time to create a perfectly smooth surface. The goal of this step is to fill the areas where you scraped paint so they are perfectly level with the surrounding ceiling.
Applying the First Coat
Using your taping knife, apply a thin, tight coat of joint compound over all the scraped areas. This is called a skim coat. The goal isn’t to build it up all at once, but to apply a smooth, even layer. Press firmly on the knife to force the compound into any small imperfections and to feather the edges thinly onto the existing painted surface. Let this first coat dry completely (usually 24 hours).
Sanding and Second Coat
Once dry, lightly sand the first coat with your sanding sponge to knock down any ridges or high spots. Don’t try to get it perfect yet. Wipe away the sanding dust with a slightly damp cloth.
Now, apply a second, slightly wider skim coat. Extend this coat about an inch or two beyond the edges of the first coat. This wider feathering is crucial for making the repair invisible. Let this coat dry completely.
Final Sanding
After the second coat is dry, it’s time for the final sanding. This is where you achieve the flawless finish. Use a fine-grit sanding sponge and sand lightly, using circular motions. Your goal is to make the patched area feel perfectly smooth to the touch, with no discernible edge between the patch and the old paint. A good trick is to close your eyes and run your hand over the area; you shouldn’t be able to feel the transition. After sanding, vacuum up all the dust and wipe the ceiling one last time with a damp cloth.
7. Step 5: The Magic of Priming
Skipping primer is the single biggest mistake you can make after all that hard prep work. Primer does two critical things:
- Seals the Patch: New joint compound is very porous and will absorb paint differently than the rest of your ceiling. This leads to a problem called “flashing,” where the patched areas look dull or different in sheen. Primer seals the patch so the topcoat absorbs evenly.
- Blocks Moisture & Stains: A high-quality, shellac-based or oil-based stain-blocking primer creates a vapor barrier. This is your best defense against future moisture damage. It prevents humidity from penetrating the new patch and causing the same peeling problem all over again.
Using your brush and roller, apply a full coat of your chosen stain-blocking primer to the entire ceiling, not just the patched areas. This ensures a uniform surface for the topcoat. Let the primer dry completely according to the manufacturer’s instructions.
8. Step 6: Applying the Finish Coat
Finally, the satisfying part! It’s time to apply your high-quality bathroom paint.
Using your angled brush, carefully “cut in” the edges of the ceiling where it meets the walls. Then, use your roller to apply a smooth, even coat of paint to the rest of the ceiling. Work in small sections, always maintaining a “wet edge” to avoid lap marks.
Let the first coat dry completely (check the can for recoat times). Most jobs will require a second coat for a rich, uniform color and maximum durability. Apply the second coat in the same manner as the first. Once the second coat is dry, you can remove your painter’s tape and plastic sheeting and reinstall your light fixture and fan cover.
9. Long-Term Prevention Strategies
Now that you have a beautifully restored ceiling, you want to keep it that way. Prevention is all about moisture management.
- Use Your Exhaust Fan: Run your bathroom fan during every single shower and for at least 20-30 minutes afterward to vent the humid air outside.
- Upgrade Your Fan: If your fan is old, noisy, or ineffective, consider upgrading to a newer, quieter model with a higher CFM (Cubic Feet per Minute) rating appropriate for your bathroom’s size.
- Wipe Down Walls: After a shower, briefly wiping down tiled walls with a squeegee can remove a surprising amount of water that would otherwise evaporate into the air.
- Check for Leaks: Periodically check for any signs of leaks from plumbing fixtures or the apartment above.
Tired of Peeling Paint? Let the Pros Handle It.
Fixing a peeling bathroom ceiling correctly is a detailed and time-consuming process. If you’re facing extensive peeling, potential leaks, or simply want a guaranteed, long-lasting professional result without the mess, the experts at RenovationServices.com are here to help.
We provide top-quality interior painting and bathroom renovation services for homeowners in Manhattan, Brooklyn, Queens, Staten Island, and Long Island. Let’s make your bathroom beautiful again.


