How to Fix a Damaged Drywall Corner in 5 Minutes
A professional’s guide to restoring sharp, clean lines to your NYC apartment walls using the “hot mud” technique for a rapid, durable repair.
Get a Free Drywall Repair QuoteLast Updated: November 18, 2025
It’s a classic New York City story: It’s moving day, you’re pivoting a sofa around a tight hallway corner, and crunch. The drywall corner takes a hit. Or perhaps it’s just years of wear and tear, vacuum cleaners, and foot traffic that have chipped away at the crisp edge of your walls. A damaged corner is one of the most noticeable eyesores in a home because it disrupts the clean architectural lines that define a room.
Many homeowners fear this repair, imagining they need to rip out the entire corner bead and start from scratch. While that is sometimes necessary for catastrophic damage, most corner dents and crushes can be fixed much faster. In fact, with the right materials—specifically “hot mud”—you can perform a structural repair in as little as 5 to 20 minutes of active work time. Whether you are prepping for a paint job with our interior painting services or just doing maintenance, this guide will show you the pro method.
Key Takeaways from This Guide
- Don’t Rip It Out Yet: Most corner damage can be repaired by reshaping the existing bead rather than replacing it.
- The “Hammer Check”: Removing loose material is critical; never mud over crumbling debris.
- Hot Mud is Key: To do this quickly, you must use setting-type compound (Easy Sand 5, 20, or 45), not pre-mixed bucket mud.
- Re-secure the Metal: Adding screws to a loose bead adds structural integrity that prevents future cracks.
- Less is More: Apply thin coats to shape the corner; it’s easier to add more mud than to sand away a hump.
Section 1: The Pro’s Toolkit for Corner Repair
You don’t need a truckload of tools, but you do need the right ones. The “5-minute” claim relies heavily on the type of compound you use. Here is what you need to gather.
Essential Tools
- 6-Inch Drywall Knife: For applying the initial fill coat.
- 10-Inch or 12-Inch Knife: For feathering the final coat (optional but helpful).
- Mud Pan: For mixing your hot mud.
- Hammer: To knock away loose debris and tap in high spots.
- Drill or Screwdriver: To secure the bead with screws.
- Sanding Sponge: Medium/Fine grit.
The Secret Ingredient: Hot Mud
Standard joint compound dries through evaporation, which can take 24 hours. Setting-type compound (often called “Hot Mud” or “Easy Sand”) hardens via a chemical reaction, like concrete. It comes in powder form and sets in 5, 20, 45, or 90 minutes depending on the bag. For a quick patch, “Easy Sand 20” is the sweet spot for DIYers.
Interactive Tool: Which Mud Should I Use?
Select your experience level and time constraints to find the right compound.
Section 2: Assessment and Preparation
Before you open the mud, you need to clean the wound. A failed repair usually happens because the user applied fresh mud over loose, compromised material.
The “Hammer Check”
Take the butt end of your drywall knife or a hammer and tap the area around the damage. You are looking for loose, flaking dried mud. Be aggressive here. If it’s loose, knock it off. You want to get down to the bare metal of the corner bead and the solid drywall paper. It will look worse before it looks better, but this is necessary for a strong bond.
Re-securing the Bead
Often, the impact that damaged the corner also popped the nails or screws holding the bead to the framing. If the metal feels loose or “bouncy,” you must secure it.
Pro Tip: Don’t use nails. Nails pop out over time, especially in older NYC buildings that vibrate from street traffic. Use coarse-thread drywall screws. Drive them through the holes in the bead’s flange into the stud. Add as many as needed to make the bead rock-solid.
Interactive Tool: Identify Your Corner Bead
Different eras of NYC buildings use different beads. Identify yours to know the repair limit.
Section 3: The Repair Process using Hot Mud
Now for the magic. We are going to rebuild the corner structure.
Step 1: Mix the Hot Mud
Put a small amount of water in your pan first, then add the powder. If you add water to powder, you’ll get dry clumps at the bottom. Mix it to the consistency of thick peanut butter. It should be stiff enough to hold its shape on the corner without dripping. Warning: Once mixed, the clock starts ticking. Do not try to add water to extend its life once it starts to set.
Step 2: The Fill Coat
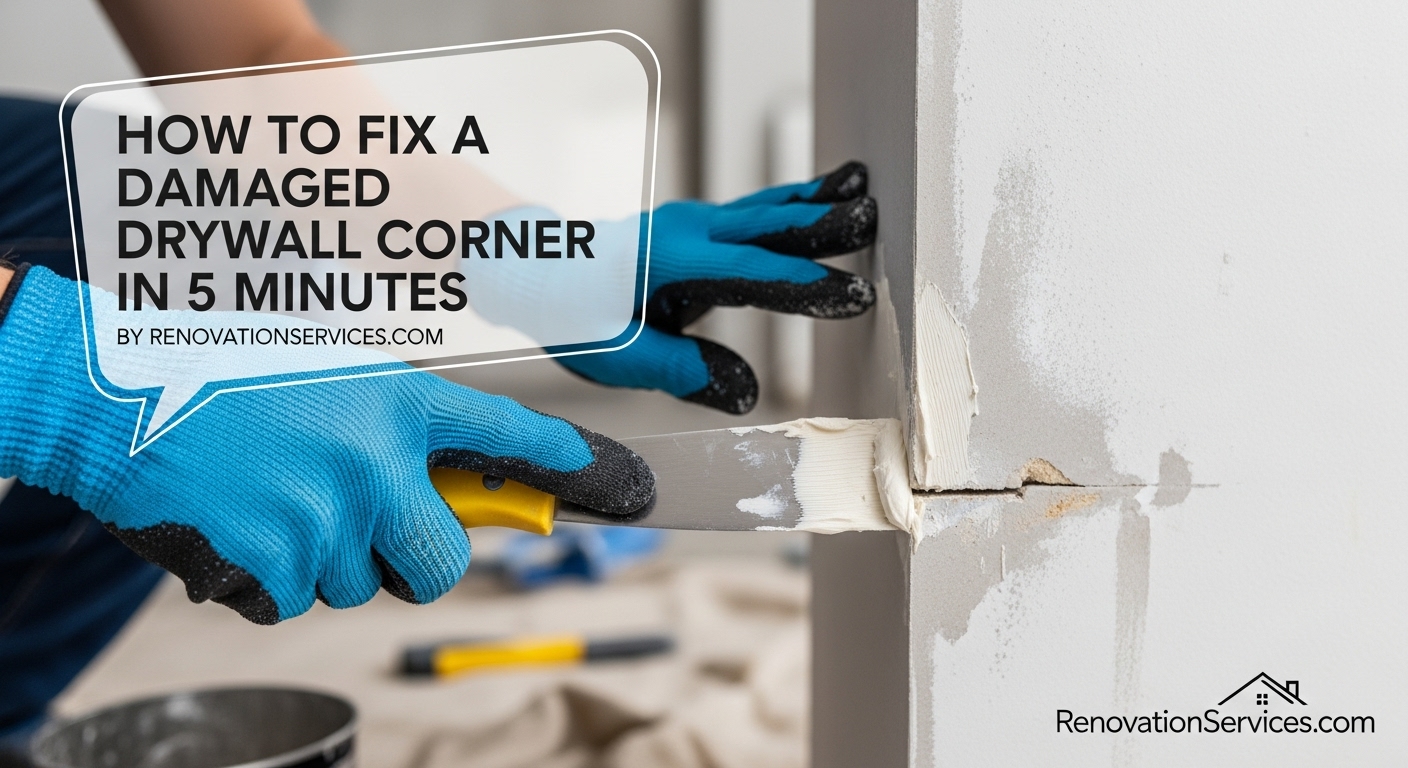
Load your 6-inch knife. Apply the mud to one side of the corner, pressing firmly. You want to force the mud into the holes of the bead mesh and into any gaps. Then do the other side.
Don’t worry about it looking pretty yet. The goal is to fill the void. However, try not to leave “ridges” or high spots. It is much easier to fill a low spot later than to sand down a rock-hard high spot of hot mud. Run your knife along the corner to wipe away excess, using the metal nose of the bead as a guide.

Step 3: The Reshape
As the hot mud begins to set (it will start to feel warm and rubbery), you have a golden window of opportunity. It is firm but not hard. Take your clean knife and slice off any high ridges or bumps. This is called “shaving.” It saves you hours of sanding later. Once shaved, let it harden completely.
Section 4: Finishing and Painting
Once the structural fill is hard, the corner is strong, but it might look rough. Now we switch to aesthetics.
The Skim Coat
For the final coat, you can use more hot mud if you are in a rush, or standard lightweight all-purpose compound (the stuff in the bucket) if you want an easier sanding experience. Apply a thin layer over the repair, feathering it out 6-8 inches away from the corner to blend it with the wall. This hides the “hump” of the repair. For specialized finishes, see our skim coating services.
Sanding
Use a fine-grit sanding sponge. Sand lightly. You want to smooth the edges of the mud so you can’t feel where the repair stops and the wall starts. Be careful not to sand down to the paper on the bead, which can cause fuzzing. Always wear a mask, a requirement emphasized by OSHA safety guidelines.
Interactive Tool: Repair Time Estimator
How long will this actually take? Select your parameters.
Section 5: NYC Considerations & FAQ
NYC Special: Plaster vs. Drywall
If you live in a pre-war building in Manhattan or Brooklyn, your corners might not be drywall bead at all—they might be solid plaster or have a wire mesh cornerite. If you hammer a plaster corner, it will crack extensively. For plaster, do not use drywall screws. You may need to use plaster buttons or call in our plaster repair specialists. Always verify your wall type before hammering!
1. Can I just paint over the damage?
2. How do I dispose of the debris?
3. What if I see metal rusting?
4. Do I need a permit for this?
Interactive Tool: DIY or Call a Pro?
Is this repair too big for you? Answer one question.
Corner Too Far Gone?
Sometimes a patch isn’t enough. If your walls have extensive damage, water issues, or you just want a flawless Level 5 finish without the dust, our team is ready. We serve Manhattan, Brooklyn, and Queens.


