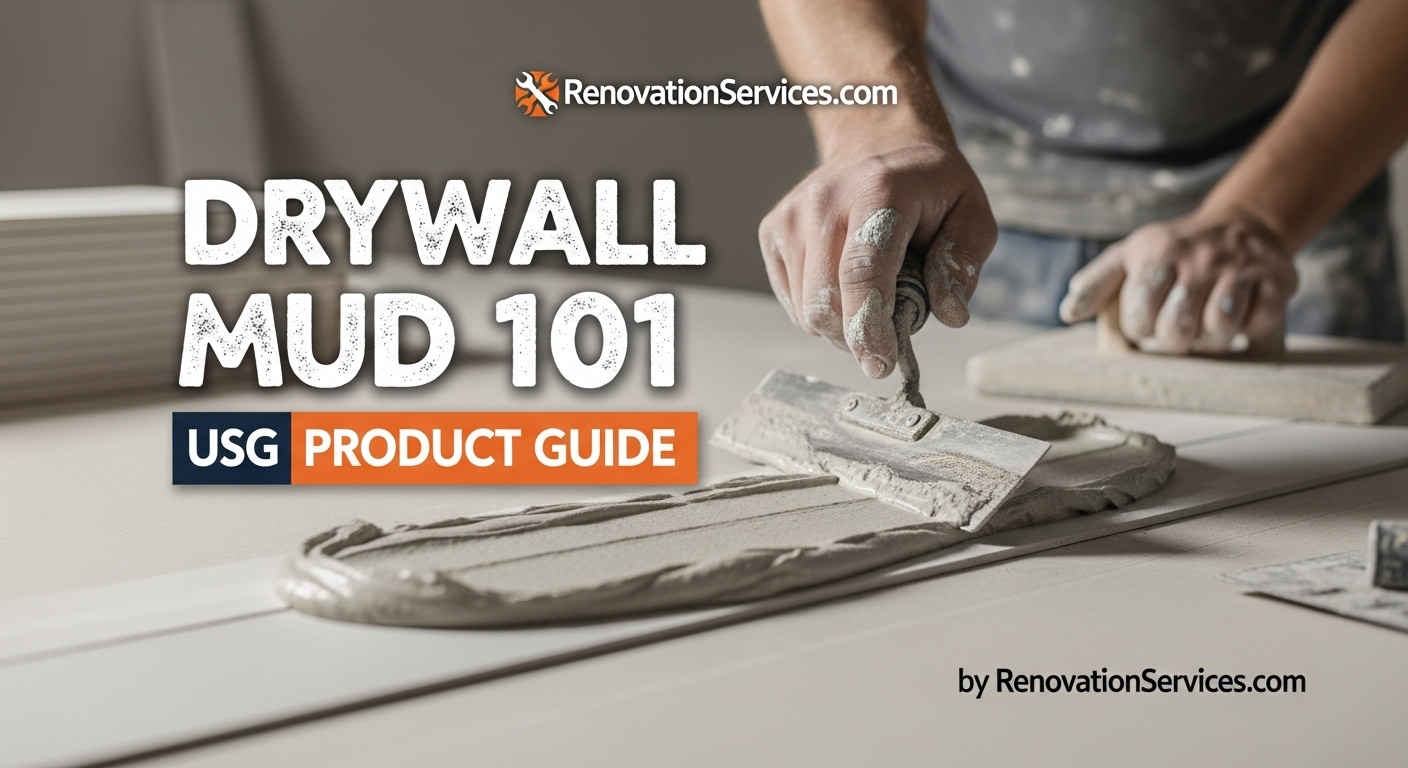
Drywall Mud Explained: Which USG Bucket Should You Buy?
Green lid? Blue lid? Hot mud? Stop guessing. Here is the simple guide to picking the right drywall mud for your project.
The Drywall Aisle Confusion
You walk into the hardware store. You see a wall of buckets. Some are green, some are blue, and some are boxes of powder. You just want to fix a hole or finish a small room. Which one do you grab?
Many beginners make the mistake of buying one bucket for everything. They struggle with sanding. They get bubbles in their tape. However, pros know that each bucket has a special job. Using the right mud makes the work easier and the finish smoother.
We are going to break down the specific USG products you see on the shelf, so you know exactly what to buy for your next project. Whether you are in Brooklyn, Queens, or Staten Island, these products are the standard for NYC home renovations.
Skip the Dust and Mess?
Drywall finishing is an art. If you want smooth walls without the workout, our team can handle the taping, mudding, and sanding for you.
Call us at: 347-455-1741
Email: info@renovationservices.com
Get a Drywall QuoteThe USG Lineup: What Do They Do?
Understanding the different types of joint compound is key to a successful renovation. Let’s look at the most common options.
1. The Powder: “Hot Mud” (Easy Sand)
This comes in a bag or box. You have to mix it with water. It has a number on it: 5, 20, 45, or 90. This number tells you how many minutes you have before it gets hard. It sets by a chemical reaction, not by drying.
- Best For: Pre-filling big gaps. Fixing deep holes. The first coat over metal corner bead.
- Why Use It? It does not shrink like bucket mud. It gets hard fast so you can add another coat the same day.
- Pro Tip: If you use mesh tape, you must use this mud for the first coat. It is the only thing strong enough to hold mesh securely.
2. The Green Lid: All Purpose
This is the heavy bucket. It is full of glue (adhesive polymers).
- Best For: Taping. This is the mud you use to stick paper tape to the wall.
- Why Use It? The extra glue ensures the tape will never bubble or peel off. It dries very hard.
- Warning: Do not use this for your final top coat. It is very hard and difficult to sand smooth. You will get tired sanding it.
3. The Blue Lid: Plus 3 (Lightweight)
This bucket feels lighter when you pick it up. It has more air and perlite in it. It weighs about 30% less than the Green Lid.
- Best For: The second and third coats. Skim coating.
- Why Use It? It spreads like butter. Most importantly, it sands very easily. You won’t have to work hard to get a smooth finish.
4. The Yellow/Green Box: Ultra Lightweight
This is the newest type. It is even lighter than the Blue Lid. It creates very little dust when sanding.
- Best For: Final skim coats. Overhead work (ceilings) where weight matters.
- Verdict: It is very similar to the Blue Lid. Some pros love it; some stick to the Blue. For a DIYer, the Blue Lid is usually the safer bet because it is more forgiving.
5. The Mystery Box: “Soquete”
You might see pros buying this in bulk. It is often a specific texture mix used in the Southwest or for heavy fill.
- Best For: Spraying texture (like orange peel or knockdown).
- Why Use It? It is formulated to be thin and spray easily out of a hopper gun.
- DIY Advice: Unless you are spraying texture on a whole house, you do not need this. Stick to the Blue Lid for smooth walls.
Ready for Paint?
Once your mud is dry and sanded, you need the right primer to seal it. Our painters know how to make walls look perfect.
Call us at: 347-455-1741
Get a Painting QuoteThe Science Behind the Mud
It helps to understand why these products act differently. It comes down to chemistry.
Setting-Type (Hot Mud)
This powder contains plaster of Paris and a catalyst. When water hits it, a chemical reaction starts. It creates heat (exothermic) and hardens into a crystal structure. This is why it gets hard even if it is wet. It is like concrete. Because it doesn’t rely on evaporation, it doesn’t shrink much.
Drying-Type (Bucket Mud)
This mud is mostly vinyl binder and limestone dust suspended in water. It only gets hard when the water evaporates into the air. As water leaves, the mud shrinks. If you put it on too thick, the outside dries first, trapping water inside, which causes cracks.
Climate Matters
If you are working in a humid area (like South Texas or a New York summer), drying-type mud can take days to dry. Fans help. Dehumidifiers help. But if you are in a rush in a humid climate, Hot Mud is your best friend because humidity doesn’t stop the chemical reaction.
Your Cheat Sheet: What to Use When
Here is the simple order of operations for a perfect wall. Follow this recipe for success.
- 1. Fill Gaps: Use Hot Mud (Easy Sand 45) to fill any big gaps between sheets. Let it get hard. Do not tape yet.
- 2. Tape: Use Green Lid (All Purpose) to stick your paper tape on the seams. Apply a thin layer, press the tape in, and wipe it tight. Let it dry completely (24 hours).
- 3. Fill Coat: Use Blue Lid (Plus 3) to cover the tape. Feather the edges out about 8 inches wide. Let it dry.
- 4. Finish Coat: Use Blue Lid (Plus 3) again. Make it wider (10-12 inches) and thinner. This blends the hump of the tape into the flat wall. Sand it lightly when dry.
Renovating a Whole Room?
Drywall is just the beginning. We handle framing, flooring, electrical, and more. Let us build your dream room from start to finish.
Call us at: 347-455-1741
Start Your RenovationReal-Life Scenarios
Scenario 1: The Patch
You moved a picture and the nail pulled a chunk of drywall out. [Image of wall hole] Solution: Use Spackle (like DryDex) for tiny holes. For a hole the size of a golf ball, use Hot Mud (Easy Sand 5) because it won’t shrink into a crater like regular mud.
Scenario 2: The Bathroom
You are remodeling a bathroom. Solution: Use “Purple Board” (moisture resistant drywall). For taping, use a mold-resistant tape (Fibafuse) embedded in setting-type Hot Mud. This resists mold better than paper tape.
Scenario 3: The Whole House
You hung 50 sheets of drywall. Solution: Rent an automatic taper (bazooka) or call a pro. Doing this much by hand with a 6-inch knife is grueling work. Check our renovation cost guide.
Scenario 4: The Cracked Seam
A crack keeps appearing over a door frame. Solution: Cut out the old tape. Add extra screws to secure the board. Re-tape with mesh tape and Hot Mud for extra strength. The setting compound bonds the crack better than regular mud.
Scenario 5: The Texture Match
You need to match an orange peel texture on a patch. Solution: Use the “Soquete” or a specialized texture in a can. Adjust the nozzle on a test piece of cardboard first until the dots match the wall size.
Understanding Finish Levels
Not every wall needs to be perfect. The industry has standards from Level 0 to Level 5.
- Level 0: Just the drywall hung up. No tape. No mud. (Temporary structures).
- Level 1: Tape embedded in mud. Rough. (Hidden areas like attics).
- Level 2: Tape embedded and covered with one thin coat. (Garages or tile backing).
- Level 3: Tape and two coats of mud. (Walls that will get heavy texture).
- Level 4: The standard. Tape and three coats of mud. Sanded smooth. (Most residential walls with flat paint).
- Level 5: The best. A thin skim coat covers the entire wall surface. Required for high-gloss paint or harsh lighting conditions.
If you want a Level 5 finish, see our skim coating guide.
Frequently Asked Questions
Can I mix water into the bucket?
Yes. Most premixed mud is too thick right out of the box. It is like peanut butter. You want it like creamy yogurt. Add a little water (like a cup) and mix it with a drill paddle until it spreads easily. Do not add too much or it will drip.
Why is my tape bubbling?
This usually happens because there was not enough mud under the tape, or the mud dried too fast. It is called a “blister.” To fix it, cut out the bubble with a knife and re-tape that spot. Use the Green Lid mud for taping because it has more glue.
Do I really need different muds?
Technically, you *can* use All Purpose for everything. But your arm will hurt from sanding. Using the Lightweight (Blue Lid) for the top coats makes the sanding step much, much easier and creates less dust.
Is drywall dust dangerous?
It is an irritant. Prolonged exposure can be bad for your lungs. Always wear a N95 mask. Use a vacuum sander if possible to capture the dust before it gets in the air. See NIOSH safety guides.
Final Thoughts
Drywall work is hard, but having the right material helps a lot. Don’t fight the heavy Green Lid mud for your final coat. Switch to the Blue Lid and save your shoulders. Don’t wait all day for a patch to dry; use Hot Mud.
Remember, for safety, always wear a mask when sanding. Check OSHA’s guide on dust safety for more tips.
Need Help with Your Project?
Whether it is a small patch or a whole house, we are here to help. Contact us for advice or a quote.
Call us at: 347-455-1741
Email: info@renovationservices.com
Talk to a Pro


