N.Y. Renovation Services
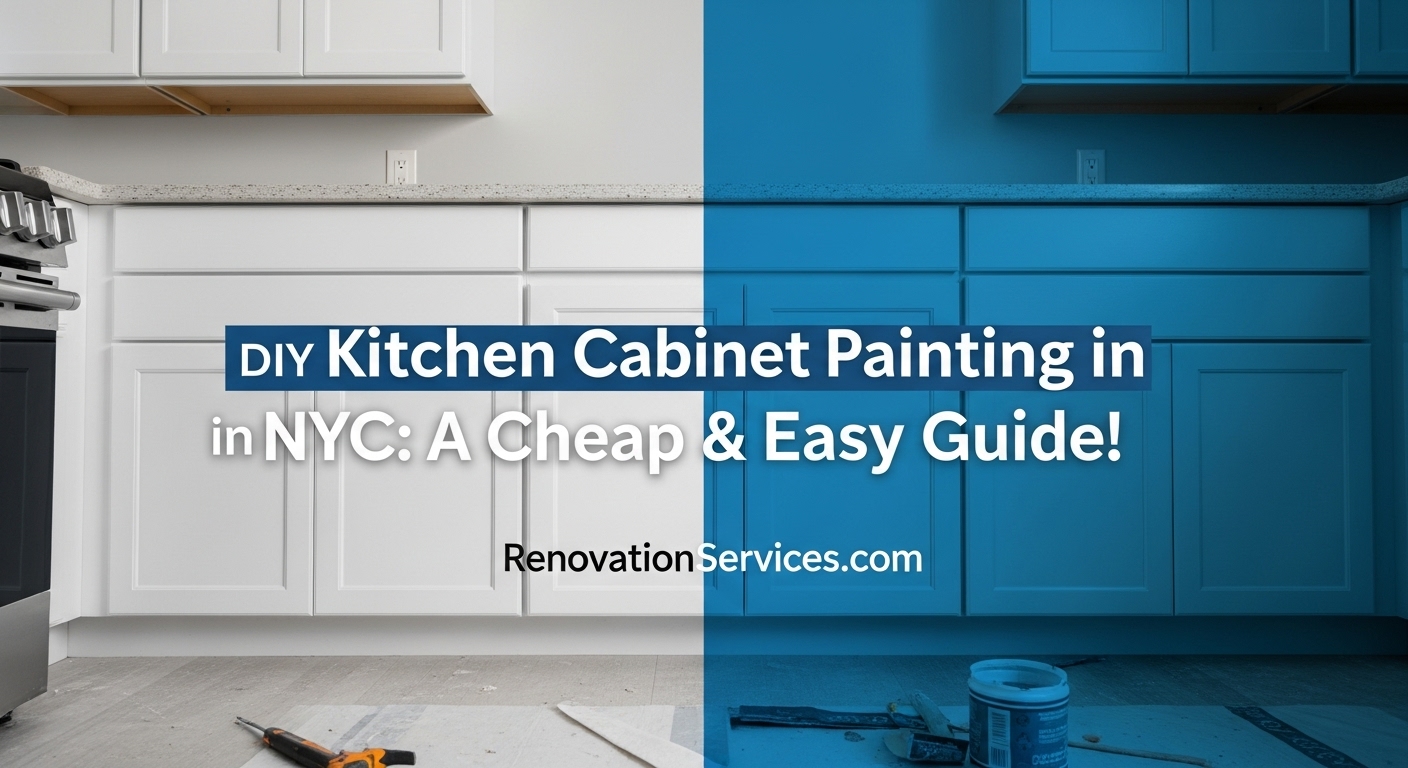
DIY Kitchen Cabinet Painting in NYC: A Cheap & Easy Guide!
Tired of your outdated kitchen cabinets but dread the cost of a full remodel in your Upper East Side apartment or Park Slope home? You’re in luck! Painting your kitchen cabinets is a budget-friendly way to completely transform your space. Whether you’re in an Astoria walk-up or a house in Todt Hill, this guide will show you the cheap and easy way to get a professional-looking finish. We’ll break down the simple steps for DIY kitchen cabinet painting NYC, so you can save money and feel proud of your work. And if you decide the project is too much, RenovationServices.com is always here to help with expert NYC cabinet refinishing services.
1. Why DIY Cabinet Painting is a Smart NYC Choice
In a city where renovation costs can be sky-high, finding a cost-effective upgrade is a huge win. A full kitchen remodel in neighborhoods like SoHo or Park Slope can be a massive investment. DIY kitchen cabinet painting NYC offers a powerful alternative, giving you the most bang for your buck.
The Benefits of Painting Your Cabinets:
- Major Cost Savings: Painting is dramatically cheaper than replacing cabinets. The money you save can go towards other upgrades, like new countertops or a backsplash.
- Dramatic Transformation: A new color can completely change the vibe of your kitchen, from dark and dated to bright and modern. It’s one of the most impactful visual changes you can make.
- Increased Home Value: A fresh, modern kitchen is a huge selling point for any property, from the Upper West Side to Garden City on Long Island.
- Eco-Friendly: Why send perfectly good cabinets to a landfill? Painting what you already have is a sustainable choice.
- Personal Satisfaction: Completing a DIY project that transforms your daily living space provides an incredible sense of accomplishment!
This project is achievable for most handy New Yorkers. With a bit of patience and the right technique, you can get results that look amazing.
2. Your Toolkit: Supplies for a Flawless Finish
Before you start your project in your Forest Hills or Bay Ridge home, gathering the right supplies is key. We recommend a streamlined set of tools for an easy, no-sand, no-prime process.
| Category | Item | Our Pro Tip |
|---|---|---|
| Paint | All-in-one paint (e.g., Heirloom Traditions) | Choose a paint that doesn’t require separate sanding or priming to save a ton of time and effort. |
| Cleaning | TSP substitute & Scotch-Brite pads | This is crucial for de-greasing and cleaning the cabinet surfaces so the paint will adhere properly. |
| Application | High-quality paintbrush & 4-inch foam roller | Use the brush to apply paint in crevices and the foam roller immediately after to get a super smooth, spray-like finish. |
| Prep | Painter’s tape, drill/screwdriver, labels | Use tape to label where each door and drawer goes. This is a lifesaver during reassembly! |
| Safety & Cleanup | Drop cloths, rags | Protect your countertops and floors. Kitchen renovations can get messy, even small ones. |
3. The Most Important Step: Prepping Your Cabinets
Ask any professional painter in NYC, and they’ll tell you: success is 90% preparation. Don’t skip these steps!
- Disassemble and Label: Carefully remove all cabinet doors and drawer faces using your drill or screwdriver. As you take each piece off, label it and the corresponding cabinet box with painter’s tape (e.g., “Above Sink,” “Top Left”). This is a critical step for an easy reinstallation. Keep all your screws and hinges in a cup or bag.
- Set Up Your Workspace: Find a clean, well-ventilated area. A garage, basement, or even a spare room in your New Springville, Staten Island home will work. Lay the doors and drawers on scrap wood to elevate them, allowing for better airflow and easier painting of the edges.
- Clean, Clean, Clean!: This is the most crucial part. Kitchen cabinets accumulate grease and grime that can prevent paint from sticking. Use the TSP substitute and a Scotch-Brite pad to scrub every surface you plan to paint. Let the cleaner sit for a few minutes, then wipe it off completely with a clean cloth.
Pro Tip: Before cleaning, remove any of those little rubber or felt bumpers from the inside of your cabinet doors. They will get in the way of a clean paint job. You can replace them with new ones at the end.
4. The Fun Part: Painting Technique for a Smooth Look
Now that the prep work is done, it’s time to paint. We’ll share a great technique for achieving a professional, non-streaky finish.
The “Brush and Roll” Method:
- Step 1: Brush It On: Dip your paintbrush in the paint and apply a generous coat to the entire surface of the door or drawer, especially in the detailed or recessed areas. Don’t worry about brush strokes at this stage.
- Step 2: Roll It Smooth: Immediately after brushing, take your foam roller and lightly roll over the entire surface. The roller will smooth out the brush marks and create a beautiful, even finish. Work from the middle outwards to catch any excess paint on the edges.
- Apply Two Coats: Let the first coat dry completely (usually 30-60 minutes). Then, apply a second coat using the same brush-and-roll technique. Two coats are usually perfect for solid coverage.
- Flip and Repeat: Once the fronts are dry, flip the pieces over and apply two coats to the back.
5. The Finishing Touch: Installing Hardware
New hardware is like jewelry for your cabinets and is a small detail that makes a huge impact. Whether you’re reinstalling old hardware or adding new pulls, proper installation is key.
- Wait for the Paint to Cure: While the paint may be dry to the touch quickly, it’s best to wait a day or two before re-hanging doors and installing hardware to ensure it’s fully hardened.
- Use a Jig for New Holes: If you’re drilling new holes for knobs or pulls, a cabinet hardware jig is a fantastic tool. It ensures all your hardware is perfectly aligned and consistent across every door and drawer, a must for a professional look in a detail-oriented neighborhood like Tribeca in Manhattan or DUMBO in Brooklyn.
- Drilling Tips: Use a 3/16-inch drill bit for standard hardware screws. A chamfer bit can be helpful to recess the screw head on the inside of the door for a cleaner fit.
- Reassemble: Using your labels, re-hang all the doors and attach the drawer faces. Make any necessary hinge adjustments to ensure everything is straight and even.
Safety & Disposal Note: If your home was built before 1978, your old cabinets might have lead-based paint. If you were doing heavy sanding (which this method avoids), you’d need to follow specific safety protocols. According to the EPA, lead-safe work practices are essential. For disposal of any renovation debris in NYC, always follow the rules set by the Department of Sanitation. Minor DIY debris may be acceptable for curbside pickup, but larger projects require a private hauler. Check the DSNY website for current guidelines.
6. Know When to Call the Pros for Cabinet Painting in NYC
DIY is fantastic, but sometimes a project is best left to the professionals. If you’re in a high-end Manhattan co-op or just want a guaranteed flawless finish, calling in an expert is a wise choice.
Consider Hiring RenovationServices.com If:
- Your Cabinets are in Poor Condition: If the veneer is peeling or the wood is damaged, more extensive repairs may be needed before painting.
- You Want a High-Gloss or Lacquer Finish: These finishes are notoriously difficult to apply without professional spray equipment and expertise.
- You Lack the Time or Space: This project takes time and can disrupt your kitchen for several days. We have the off-site facilities and efficient processes to get it done quickly.
- You Want Absolute Perfection: Our experienced crews at RenovationServices.com specialize in NYC cabinet refinishing. We serve all five boroughs and Long Island, from Manhasset to Tottenville, ensuring a durable, factory-perfect finish every time.
7. Your NYC Kitchen Cabinet Painting Questions Answered!
Q1: Do I really not have to sand my cabinets first?
A: With modern all-in-one paints, you can often skip sanding if the surface is in good condition. The key is thorough cleaning and de-greasing with a product like TSP substitute. This allows the paint to bond directly to the old finish.
Q2: How long will my painted cabinets last?
A: When done correctly with proper prep and high-quality paint, a painted finish can last for many years. The key is allowing the paint to fully cure (which can take a week or more) before it’s subjected to heavy use and cleaning.
Q3: Can I paint laminate or thermofoil cabinets?
A: Yes, but it requires a different process. Laminate cabinets need to be scuff-sanded and primed with a special bonding primer designed for slick surfaces before you can apply your topcoat. This is a situation where calling a pro from RenovationServices.com might be a good idea.
Q4: What’s the best color to paint my cabinets to increase my NYC apartment’s value?
A: For broad appeal, you can’t go wrong with neutrals. Bright whites, soft grays (like a light gray for a Brooklyn Heights brownstone), or even sophisticated navy blues are timeless and popular choices that appeal to a wide range of buyers.
Ready for a Stunning Kitchen Makeover?
A simple coat of paint can breathe new life into your kitchen, making it a space you love to be in. This guide gives you the confidence to tackle DIY kitchen cabinet painting NYC on your own.
But if you’re looking for a flawless, durable, and hassle-free finish, the experts at RenovationServices.com are ready to help. We offer professional cabinet painting and refinishing services across Manhattan, Brooklyn, Queens, Staten Island, and Long Island.
Let us give you the kitchen of your dreams!
Call Us: (347) 455-1741
Email for Your Free Cabinet Painting Quote


